SmartFilm Upgrade
Enjoy a boost in your print reliability with the new SmartFilm for Einstein™.
A specialty separation film to be used with the Einstein™ material tray to alleviate suction forces during the print process. SmartFilm is a simple, intelligent Einstein™ add-on to upgrade your efficiency – that’s easy to install.
Validated for Einstein™ and Einstein Pro XL™ Dental Printers, SmartFilm is available as a 5-pack refill for current customers and individually included with your next material tray order.
Primary Supplies
-
SmartFilm separation film for Einstein™ and Einstein Pro XL™, product code: TBD. Contact Customer Support to order: https://etec.desktopmetal.com/support/.
-
Updated buildstyle: Buildstyles developed specifically for use with theSmartFilm. Provided with purchase of SmartFilm, or see SmartFilm Buildstyles.
-
Optional: New Einstein™ material tray, product code: MIC-90-2532.
Install SmartFilm
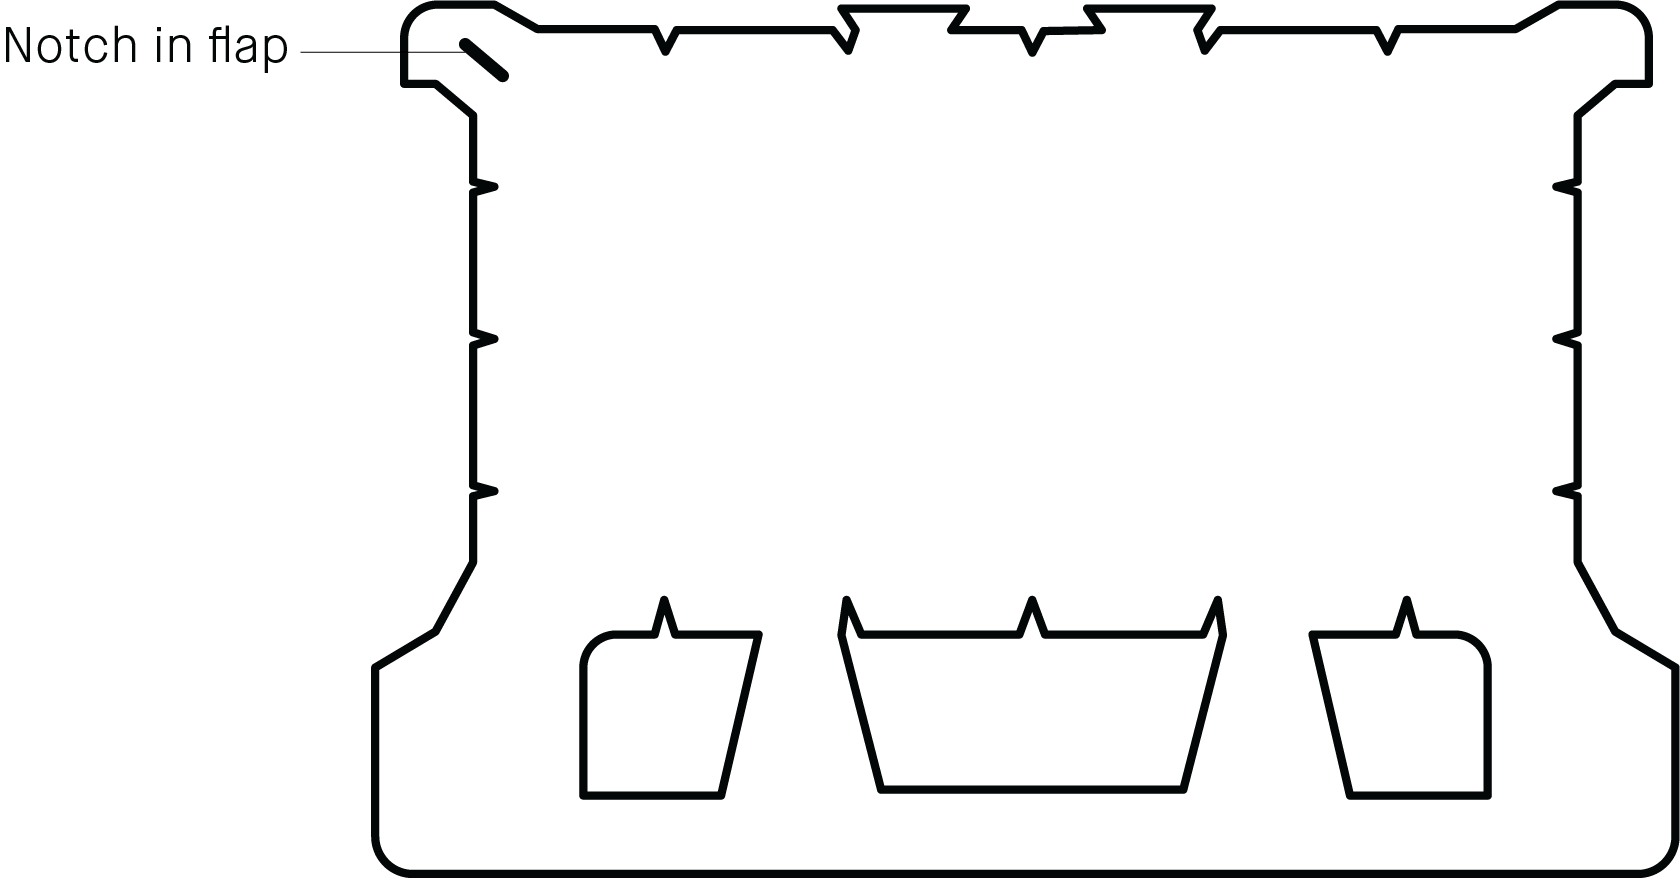
The SmartFilm has a textured side and a smooth side. When properly installed on the bottom of the material tray, the smooth side is against the bottom of the tray.
Install the SmartFilm on your current material tray:
-
Remove all material and clean the material tray. See Clean Material Tray.
-
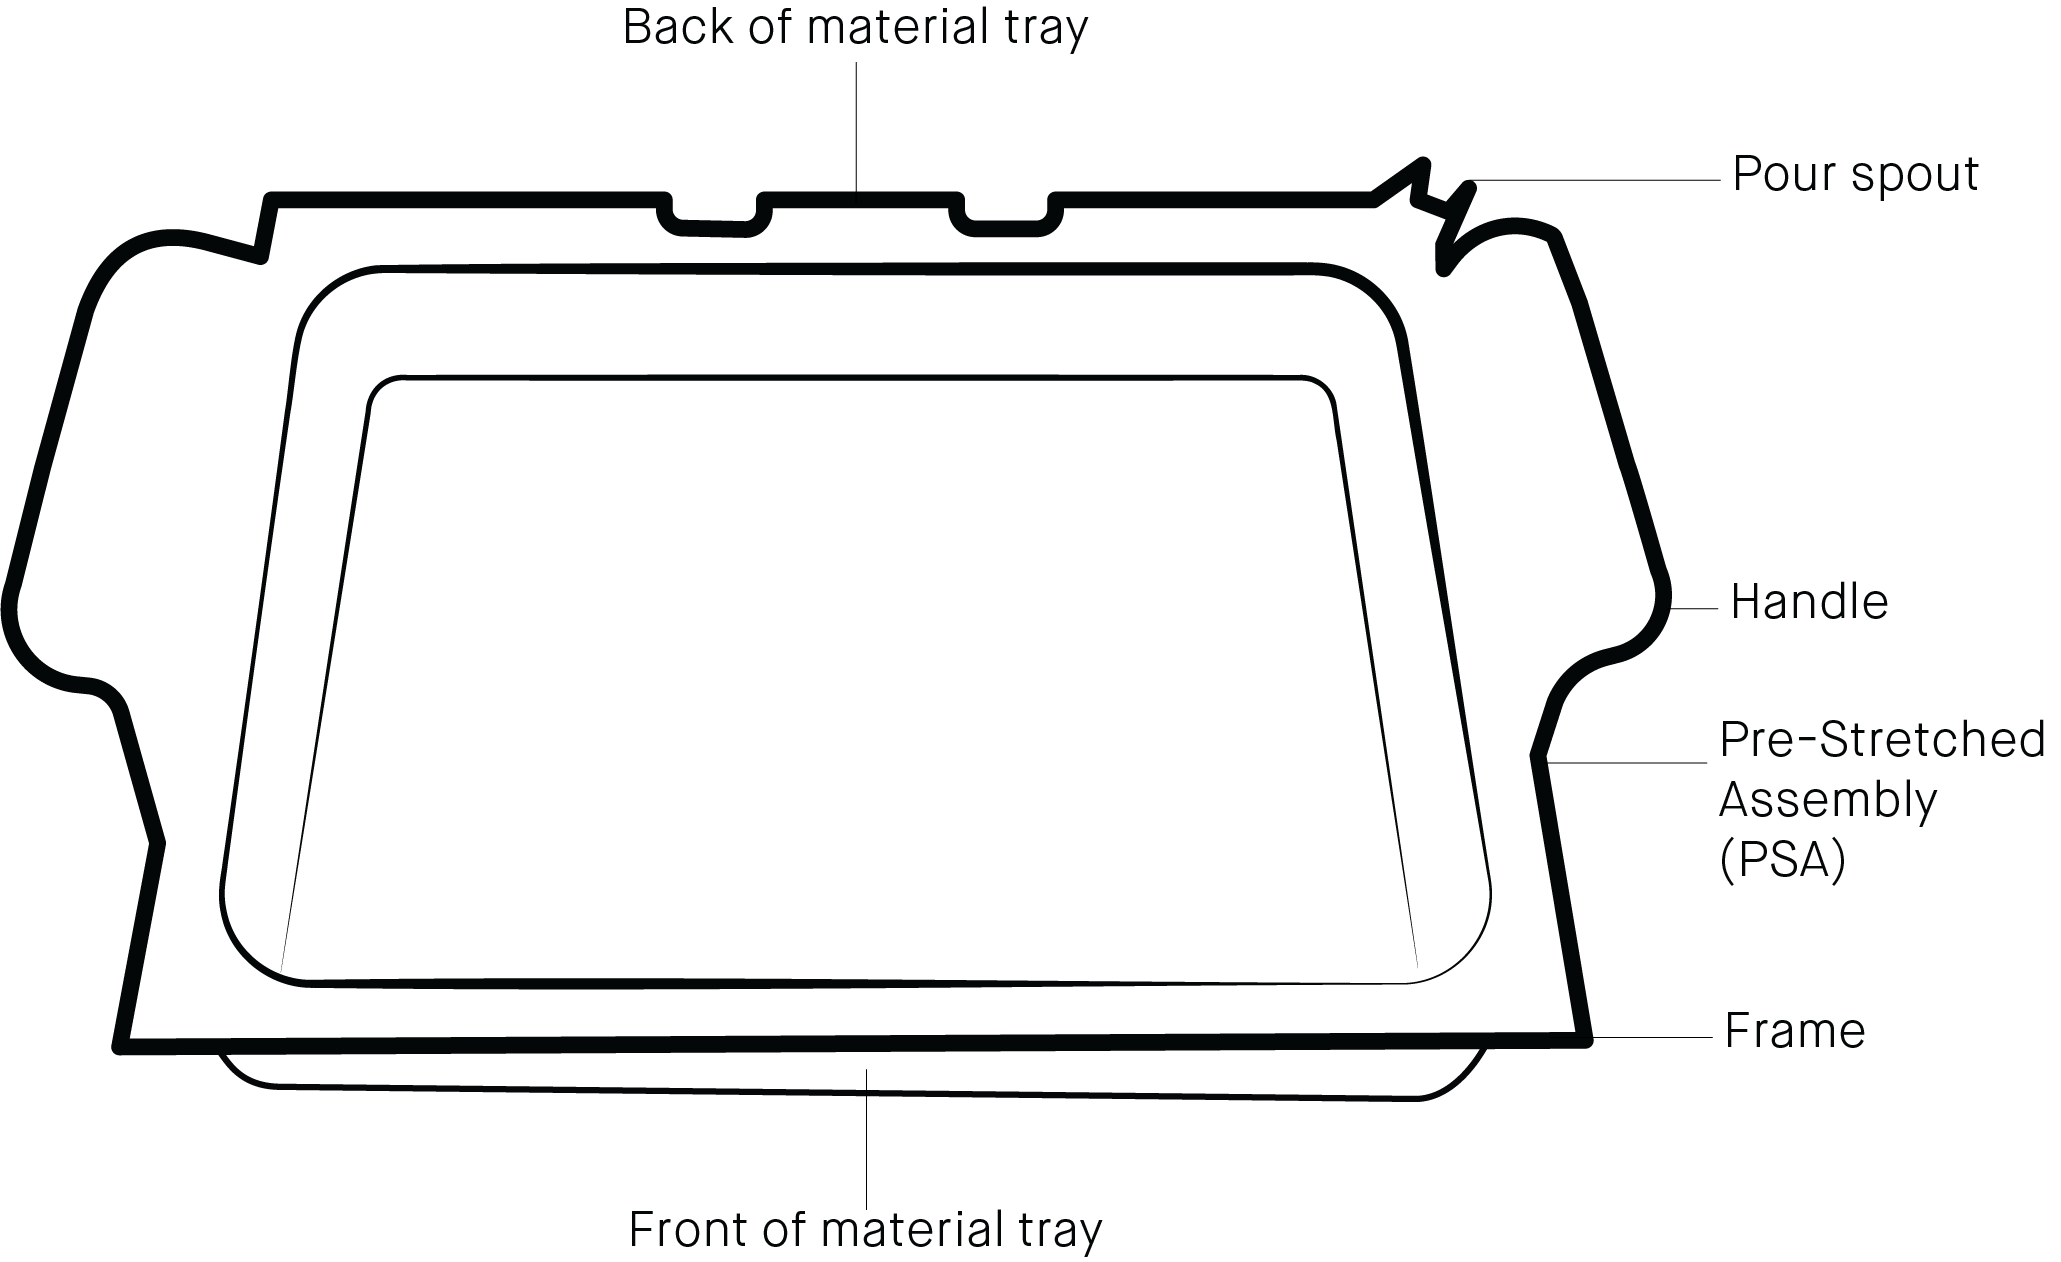
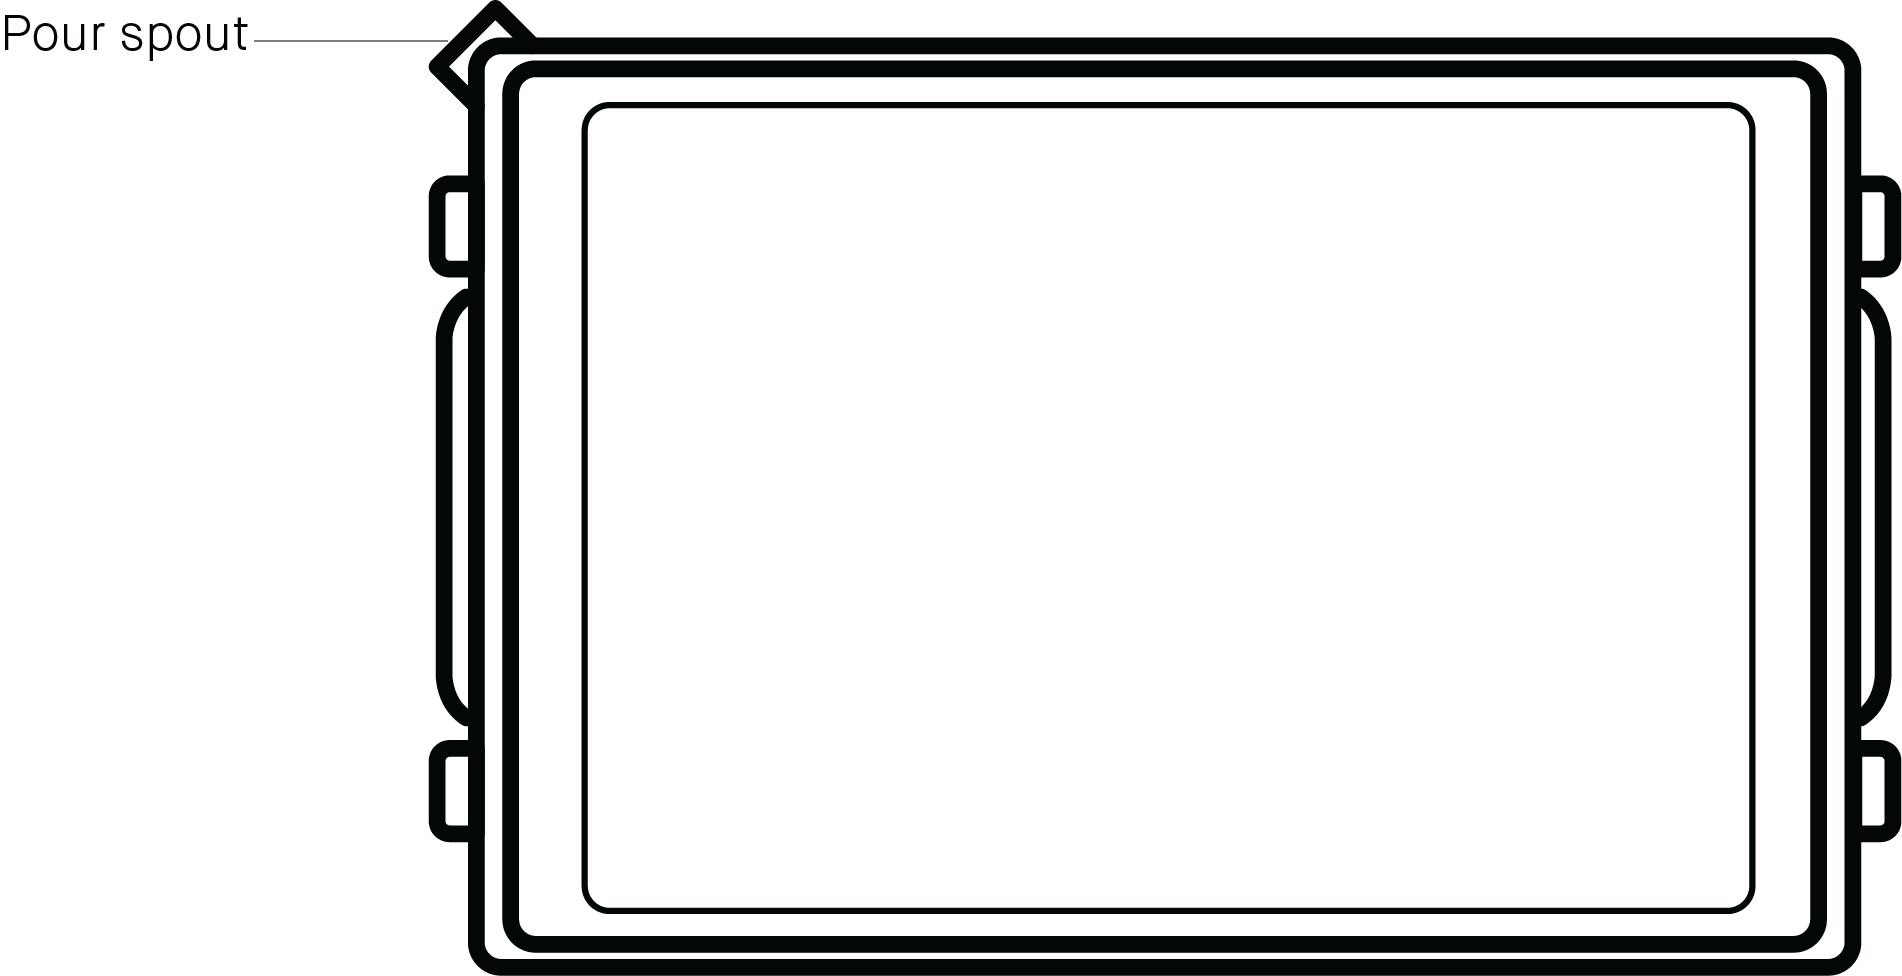
Locate the pour spout on the material tray.
-
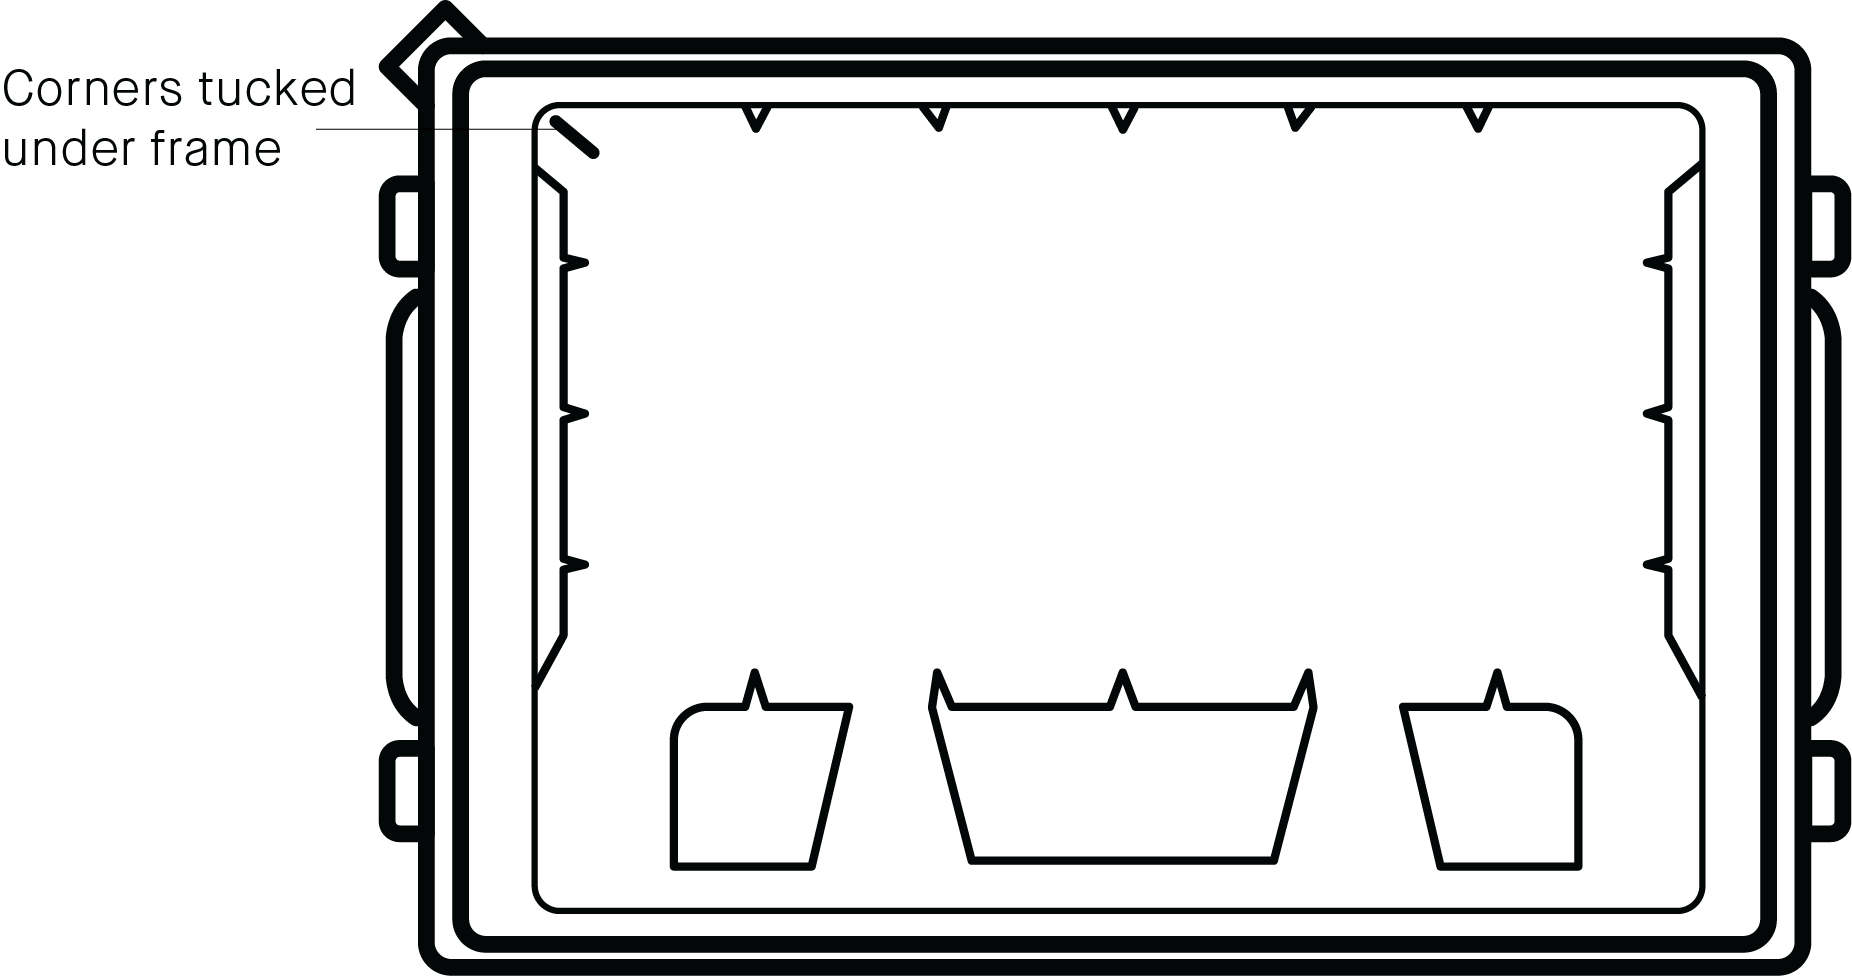
Place the material tray up-side-down (glass side facing up) on a clean, paper-towel lined surface. Make sure the pour spout is in the upper left corner.
-
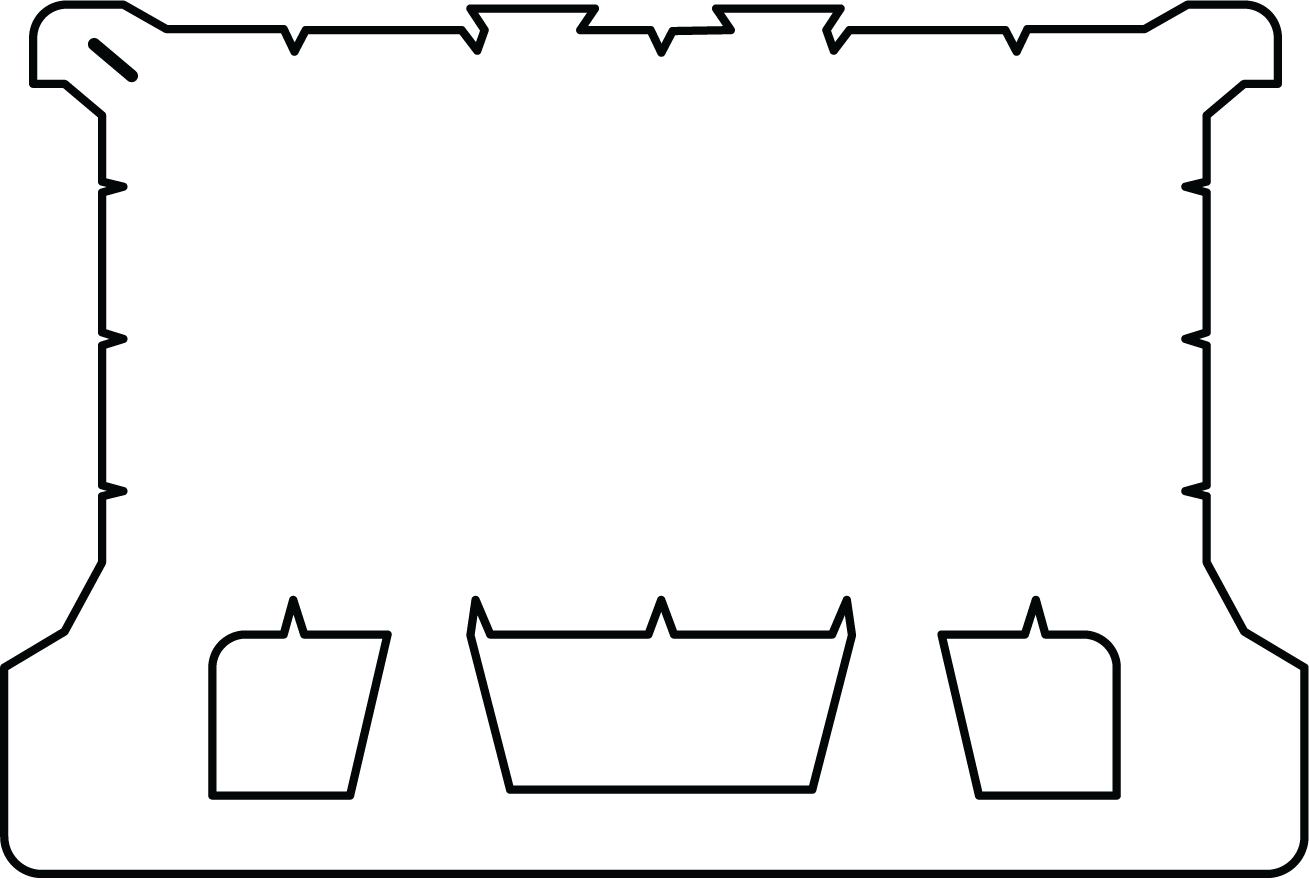
Place the SmartFilm on a clean surface. Orient the SmartFilm so that the notched flap is in the upper left corner.
-
Without changing its orientation, lift the SmartFilm and place it on top of the material tray, making sure the notched corner of the film is aligned with the pour spout on the material tray.
 Important: The notched flap on the SmartFilm must line up with the pour spout on the material tray.
 -
Tuck each corner of the SmartFilm under the plastic frame.
Install Buildstyle
An updated buildstyle is required to print with the SmartFilm. See SmartFilm Buildstyles for the list of buildstyles available for SmartFilm.
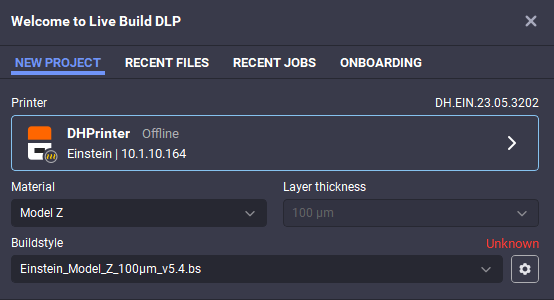
To install the new buildstyle in Live Build DLP, see Upload Buildstyle File.