It's important to properly orient your 3D model in order to ensure its stability and printability. You can orient your model manually or automatically and also choose a different base for your model to change its orientation.
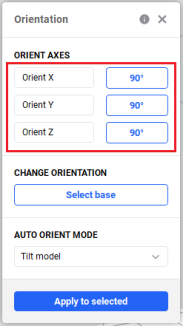
Orient Model Manually
|
1. Press the 2. Choose the axis to rotate the model in the X, Y, or Z. 3. Click on the Orient X, Orient Y, or Orient Z field and use the mouse scroll wheel to set the required value of a rotation angle. The value of one step is 1°. Tip: You can also rotate the angle 90° on each axis by clicking the corresponding button.
|
|
Orient Model Automatically
|
1. Press the 2. Select a part for changing its orientation on the platform. 3. In the Auto Orient Mode, select the automatic orientation mode based on your requirements:
4. Press Apply for All or Apply for Selected, depending on your choice in step 2. |

|
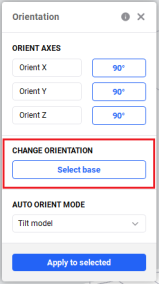
Select Model Base
There are two ways to select a base for your model:
Option 1
1. Press the ![]() icon on the left Toolbar.
icon on the left Toolbar.
2. In the Change Orientation section, press Select Base.
→ An orange marker for the new base selection appears.
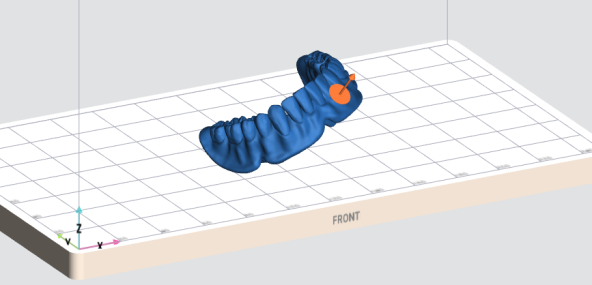
3. Select the surface to orient towards the build platform by clicking it.
→ The model orientation is changed.
4. Press Done.
Option 2
1. Press the  icon and hold the mouse button pressed.
![]()
→ The pressed icon turns into an orange marker for the new base selection.
2. Drag the marker to the location you want to select as a new base.
3. Once a new base is selected, release the mouse button.
→ The model orientation is changed.